
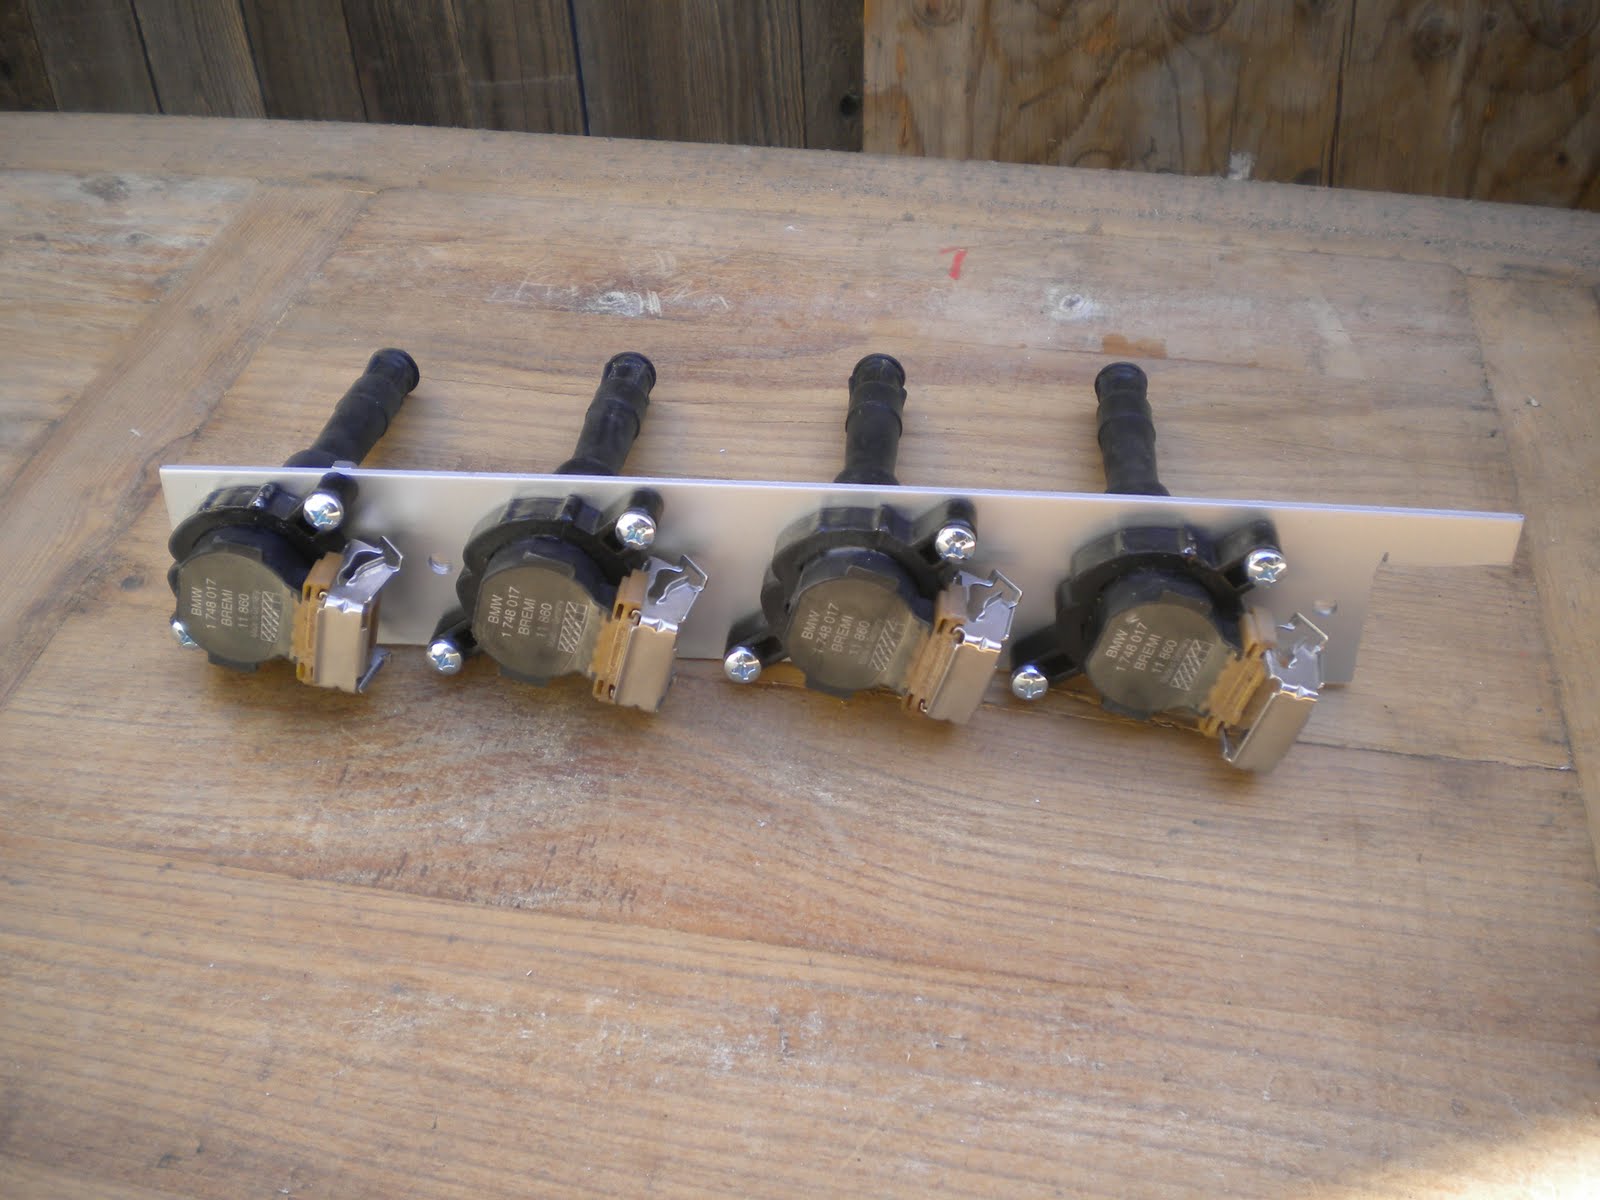
 here it is bolted to the engine.
 and here it is all settled into its new home.
 here it is bolted to the engine.and here it is all settled into its new home.
 both clusters coming apart for a deep cleaning and the tach swap.
 And back in the dash
 Pedal box install went fairly smooth. I still need to adjust the clutch and brake pedal Height but its probably drivable like this.
 Brake system Going back together.
 A little high temp paint and it looks pretty decent. I just need to figure out how to mount it now.
 Here is the cleaned up bay ready for paint. You don't want to know how dirty it was to begin with.
 This is after the second coat. Still very wet.
 The front shot. Notice how the masking tape pulled a lot of the paint off around the headlight buckets. I hope the grills will cover this up. Obviously not the best paint job on this thing.
 I left the relay holder painted, just a little accent.


 Bilsteins reinstalled in the finished struts
 A before shot of the caliper, got the brush on type caliper paint as it is the only stuff with a decent reputation.
 A brief glimpse into the chaos that is my project.
  I did manage to get the soda blaster working but ran out of soda before I got done blasting the steering box off.
 Next on the agenda is to get these cleaned up and coated.
 This picture shows how rusty it is under where the Battery was originally mounted.
 Here is the removed and dis-assembled front sub-frame along with the front suspension and brakes. The brakes have a little surface rust but are in good shape and appear to be new. They have been upgraded to 320i brakes with vented rotors and 4 piston calipers and stainless braided lines.
 These parts will be going back on for sure. Bilstein sport struts, H&R race springs, K-Mac adjustable front Camber Plates, and Ireland Engineering front Sway bar mounts. I may swap the springs for some H&R sport springs that I have as the ride will be a little less jarring and the ride height will be a little higher. The roads in Downtown are not the most forgiving.
 Seat mounted.
 Plenty of room to get into the back seat, just as long as you don't have any legs. This is in full forward position and for me to sit comfortably it needs to be nearly all the way back.
 Here is a view of the fabricated front seat mount. It is 1/4" thick and 1.5" wide with 3/16" thick plate extensions welded to either end to use the original front mounting holes for the seats.
  Heres a rear view of the seat mounts. due to the difference in seat tracks I had to drill new holes to attach the rear mount I made. All the bolt holes lined up on the first try thanks to the old measure twice cut (or drill) once rule.


